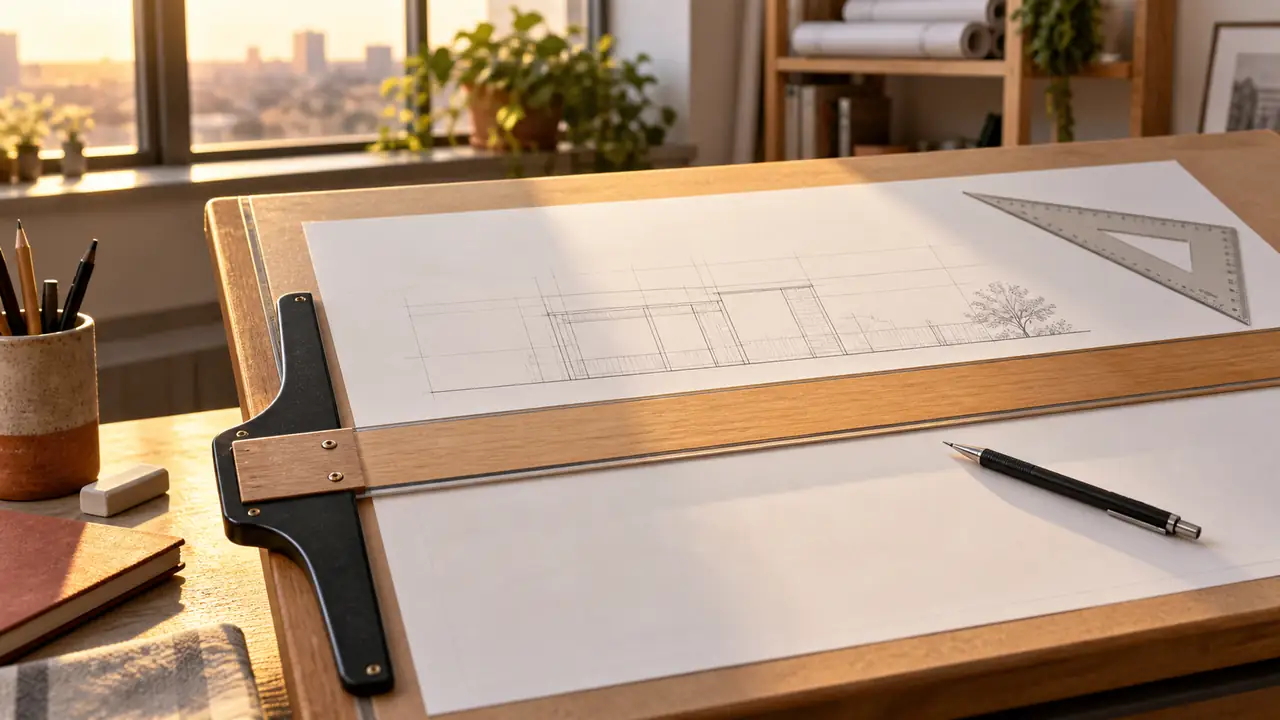
The first clean line on a drafting sheet often depends less on pencil skill than on how the T-square is positioned. When its head rests firmly against the edge of a drawing board, the long blade provides a reliable guide for straight horizontal lines. If the head shifts, the blade is dirty, or the board edge is not straight, even careful lettering and geometry can drift across the page.
Learning how to use a T-square for drafting means more than sliding a ruler across paper. You need to set up the board, keep the blade aligned, draw with the correct part of the pencil, and know when to use a triangle with the T-square. The result is a repeatable method for construction lines, borders, lettering guidelines, elevations, and technical details.
What a T-Square Does in Drafting
A T-square has two main parts: a long straight blade and a shorter head, sometimes called the stock. The head rests against one edge of the drawing board, while the blade extends across the working surface. Because the head guides the tool along the board edge, the blade stays perpendicular to that edge when the T-square is properly made and correctly seated.
That relationship produces lines that are horizontal relative to the drawing board. It does not necessarily mean the lines are level relative to a room, table, or building. For drafting, the important reference is the board itself. A student drawing a floor plan might use the T-square for wall guidelines, while someone preparing a mechanical drawing might use it for construction lines and aligned views.
The T-square is primarily a line-guiding tool, not a complete measuring instrument. Some blades include graduations, but a separate scale or ruler may be more appropriate for measuring dimensions. Treating the T-square as a straightedge and using a scale for measurements helps keep each tool doing the job it was designed to do.
Prepare the Board and Drawing Sheet
Before drawing, clear dust, pencil crumbs, eraser debris, and scraps from the board. A grain of graphite beneath the head can tilt the blade just enough to create a visible gap or a sloping line. If the sheet is wrinkled, curled, or loosely attached, the paper may move while the T-square remains in place, leaving a line that looks accurate at one end and wanders at the other.
Place the paper on the board with its edges positioned according to the drawing layout. Secure it with drafting tape or another suitable paper-holding method, keeping the tape away from areas that must remain visible. The sheet does not always need to be perfectly parallel with the board edges, but its position should be intentional. For a formal drawing, many drafters first establish a border and title-block area, then use those references to organize the rest of the sheet.
Run your fingers along the working edge of the board. It should be straight, clean, and free of raised damage. The T-square head needs continuous contact with that edge. If the board edge is rounded, chipped, or obstructed by a clamp, the tool may rock or change direction during the stroke.
How to Use a T-Square for Drafting
The basic process is simple, but consistency matters. A rushed stroke can pull the tool out of alignment, especially on a large sheet where the blade travels a long distance.
-
Place the head against the board edge. Set the T-square on the drawing surface with the head touching the board edge. Keep the contact face of the head fully seated rather than resting on a corner or a raised piece of tape.
-
Slide the T-square to the required position. Move the tool along the board edge until the blade reaches the location of the line. If you are using a scale, measure or mark the position first, then bring the blade to those marks.
-
Hold the head or blade steady. Use one hand to keep the head pressed lightly against the board edge. On a long line, hold the blade near the area being drawn without pressing so hard that the T-square bends or shifts.
-
Draw along the working edge. Hold the pencil so the lead touches the blade cleanly. A slightly inclined pencil is commonly used, with the point directed in the direction of travel. Draw in one smooth stroke when the line is short enough to control comfortably.
-
Lift the pencil before moving the tool. Do not drag the T-square while the pencil is still touching the paper. Lift the pencil, then release or reposition the T-square.
-
Check the line and alignment. Look for gaps, double strokes, unexpected changes in thickness, or a blade that has drifted away from the intended marks. Correct the setup before adding more geometry.
For example, when laying out three horizontal lines for an elevation, keep the head against the same board edge and slide the T-square between strokes. The lines should remain parallel because they are all guided by the same reference. If the T-square is lifted and placed down by eye between each line, small angular differences can accumulate and become obvious when vertical walls or dimensions are added.
On a large architectural sheet, the hand holding the T-square may need to move as the pencil travels. That is fine as long as the head remains seated against the board edge. A light, controlled touch is better than squeezing the blade, which can make the tool harder to move smoothly.
Using a Triangle With the T-Square
The T-square creates a stable horizontal reference, while a drafting triangle placed against its blade can produce vertical or angled lines. Common triangles include 45-degree triangles and 30-degree by 60-degree triangles. The exact angle comes from the triangle, not from the T-square.
Drawing Vertical Lines
Place one straight edge of the triangle against the T-square blade. Hold the triangle firmly, then draw along the edge that is perpendicular to the blade. Keep the T-square stationary while making the stroke. This technique is useful for vertical construction lines, wall edges, projection lines, and lettering guides.
Suppose a vertical line must pass through the end of a horizontal baseline. First draw the baseline with the T-square. Then place the triangle against the blade so its vertical edge passes through the required point. If the triangle slides while you draw, the line may lean, so keep your fingers on the broad body of the triangle rather than on the edge where the pencil needs to travel.
Drawing Standard Angles
To draw a 45-degree line, use the appropriate edge of a 45-degree triangle against the T-square. For a 30-degree or 60-degree line, use the corresponding edge of a 30-degree by 60-degree triangle. The T-square acts as the supporting reference and helps the triangle move or remain aligned.
Triangles can also be shifted along the T-square to draw several parallel lines at the same angle. This is useful for hatch patterns, projection lines, and repeated details. Keep the same triangle edge against the blade throughout the set. Rotating the triangle between strokes can change the angle or reverse the direction of the lines.
How to Keep the T-Square Accurate
Accuracy depends on the condition of both the tool and the board. Even a well-made T-square will not behave predictably if its head is loose or its blade has been bent.
- Keep the head against the same reference edge. Do not allow it to float away from the board during a stroke.
- Check the contact surfaces. Dust, tape residue, and dried adhesive can create small gaps.
- Do not use the T-square as a cutting guide. A utility knife can damage the edge, and a damaged blade may no longer guide a pencil accurately.
- Lift it instead of dragging it across finished work. Dragging can smear graphite or catch on paper.
- Use a separate scale for dimensions. The T-square may guide the line, while the scale establishes the measured location.
- Inspect the blade for bending. A curved or twisted blade will not produce a reliable straightedge.
A simple squareness check can reveal a problem. Place the head against the board edge and draw a short line along the blade. Then reverse the T-square or reposition it against the same reference so the blade meets the same starting area from the opposite direction. If the blade does not agree with the original line, the tool may be out of square, the board edge may be irregular, or the test may not have been performed consistently. A known accurate straightedge or a manufacturer’s adjustment instructions can help identify the cause.
Common T-Square Drafting Problems
The Line Slopes Unexpectedly
Check whether the head stayed against the board edge. Also inspect the board edge and the underside of the head. A small obstruction near one end can rotate the entire blade. If the line slopes in the same direction repeatedly, test the T-square before continuing the drawing.
The Pencil Line Has Uneven Weight
Uneven pressure, a worn pencil point, or a rough blade edge can produce a line that starts dark and fades. Keep the pencil angle consistent and sharpen the lead appropriately for the line weight required by the drawing. Do not press harder simply because the line looks faint. Excess pressure can damage the paper and create grooves that remain visible after erasing.
The T-Square Moves During the Stroke
The drawing hand may be pushing against the blade instead of moving parallel to it. Reduce pressure and use the other hand to hold the head in contact with the board edge. A slippery board surface, loose paper, or a head that does not fit the board edge can also contribute.
The Triangle Does Not Sit Flat
Look for debris beneath the triangle or T-square. Some triangles have beveled or raised edges, so place the correct face against the blade and paper. If the triangle rocks even on a clean surface, inspect it for damage rather than forcing it into position.
T-Square Technique on a Sloped Drafting Board
A tilted board changes the direction in which gravity pulls the tool, but it does not change the basic method. Keep the T-square head firmly against the board edge and make sure the paper is secured before drawing. On a steeply inclined surface, the T-square may tend to slide downward, so controlled hand placement becomes more important.
The angle of the board is a workspace preference influenced by the task, paper size, and user position. It is not necessary to place the board at a particular universal angle for every drawing. If the board is tilted, periodically check that the paper, T-square, and drafting triangle remain stable rather than assuming the setup will stay fixed.
Cleaning and Storing a T-Square
Wipe pencil dust from the blade and head with a soft, dry cloth. If the manufacturer provides care instructions, follow those instructions, especially when the tool includes a finished wood surface, printed graduations, plastic components, or bonded parts. Avoid aggressive cleaners unless the material compatibility is known.
Store the T-square where the blade will not be bent or struck. Laying it flat on a clean, supported surface is often practical. Do not place heavy objects on top of it, and avoid leaning it for long periods if the storage position could put pressure on the blade. A bent T-square can look straight until it is placed against the board, when a small gap becomes visible along the edge.
Students who carry a T-square between home and studio should protect the blade from twisting inside a crowded portfolio or vehicle. A rigid sleeve, dedicated drawing case, or carefully supported flat compartment can reduce accidental damage. The precise storage method depends on the tool’s material and size, but the goal is always the same: keep the blade straight and the working edges clean.
When a T-Square Is Not the Right Tool
A T-square is excellent for lines referenced to a straight board edge, but it has limits. It may be inconvenient for a small freehand sketch, a line at an unusual angle, or work on a surface without a suitable reference edge. A parallel bar, straightedge, drafting machine, or digital tool may serve different workflows, but each has its own setup and handling requirements.
The T-square also does not replace a measuring scale, compass, protractor, or triangle. A dimension might be located with a scale, guided horizontally with the T-square, and projected vertically with a triangle. Good manual drafting often comes from combining tools rather than asking one instrument to perform every task.
Frequently Asked Questions
Should the T-Square Head Be on the Left or Right Side of the Board?
Either side can work if the head remains firmly against a straight board edge and the direction suits the user and workspace. Many people place it on the side that gives the drawing hand comfortable access to the blade. The important factor is stable contact, not a universal left or right orientation.
Can You Use a T-Square Without a Drafting Board?
You can use one on a flat surface with a straight edge that can guide the head, but the result depends on how securely that edge supports the tool. An ordinary desk edge may be too rounded, thick, or obstructed to provide consistent contact. Without a reference edge, the T-square loses its main guiding function.
Can a T-Square Draw Vertical Lines by Itself?
Not in the usual drafting method. The T-square guides horizontal lines relative to the board edge. A drafting triangle placed against the T-square blade is commonly used to draw vertical lines and standard angled lines.
Why Does My T-Square Have a Gap Along the Blade?
A gap may come from debris, a warped blade, an uneven board edge, or a head that is not sitting flat. Clean the contact surfaces and check the board before assuming the tool is defective. If the gap remains, compare the blade with a known straight reference and follow any available adjustment instructions.
Build the Habit of Checking the Reference
Using a T-square well is mostly a matter of protecting one dependable relationship: the head stays against the board edge while the blade guides the line. Secure the paper, clear the working surfaces, move the tool without dragging the pencil, and use a triangle when the drawing requires vertical or angled geometry.
That routine turns the T-square from a simple ruler-like object into a reliable drafting reference. Once the setup becomes automatic, more attention can go toward line weight, dimensions, lettering, and the structure of the drawing itself.
